Analysis Automation
If you have many acquisitions to analyze the same way, the analysis automation described in this topic will help you save time and keep your analysis consistent.
An acquisition is the set of images representing each channel of the same area scanned at the same time. A template is a saved set of analysis settings. Create a template from one acquisition, then apply it to other similar acquisitions. For larger datasets, use batch analysis to apply the same template to many acquisitions at once.
Available Template Types
Templates are available for these analysis applications:
-
Morphology Analysis
-
Plate Analysis
-
Plate Array Analysis
-
Grid Analysis
-
Grid Array Analysis
-
In-Cell Western Analysis
For information about the specific analysis types, see the following overview topics: Morphology Analysis, Plate Analysis Overview, Plate Array Analysis Overview, Grid Analysis Overview, Grid Array Analysis Overview, and In-Cell™ Western Analysis Overview.
Create a Template
Use a representative acquisition from your dataset when creating a template. In other words, start with an acquisition that is typical of the group you want to analyze. Building the template from a representative acquisition helps the saved settings work more reliably when reused on other acquisitions.
-
Select a representative acquisition from the group you want to analyze.
-
On the Analysis ribbon, choose the analysis type.
-
Adjust the analysis settings until the results are satisfactory for the representative acquisition.
-
In the Template group, open the template menu and click Save Current Template.
-
Enter a template name and add a description to help identify when the template should be used.
-
Click OK to save the template in the current Work Area.
Template Details and Naming
You can save a template name and description to help you find the correct template later. Descriptions and template details are especially helpful when you apply a template to one acquisition or during batch analysis.
Image Studio 6.2 also refines naming behavior for saved analysis templates. Template names are case-insensitive, and some names are reserved. For plate-based templates, reserved names include Last Used, Custom, None, and plate configuration names such as 96 Well.
If you open an older Work Area in Image Studio 6.2, existing templates are retained, but older naming conventions may not be allowed for newly saved templates in the upgraded Work Area.
If a predefined Plate Analysis template from Image Studio 5.2 or 5.5 is applied to a new acquisition in Image Studio 6.2, review the analysis before saving and re-assign background wells on the new acquisition.
What Templates Save
Templates save the analysis settings needed to repeat an analysis.
-
Morphology templates can save hand-drawn morphology shapes, AOI assignments, Threshold Detection settings, Auto Detection settings, and Refine Shapes settings, including threshold settings that use the full available intensity range.
For Threshold Detection templates, Maximum and Minimum threshold settings are saved with the template. If the upper threshold is set to the maximum pixel intensity or the lower threshold is set to the minimum pixel intensity when the template is saved, the template uses the maximum or minimum pixel intensity from each new image when the template is applied. Template details show these values as Maximum or Minimum, while the Morphology Shapes table shows the numeric threshold value used for the acquisition.
-
Plate, Plate Array, Grid, and Grid Array templates can include user-defined background assignments.
-
Saved template details make it easier to identify the correct template when more than one template is available.
Use Batch Analysis
After a template is saved, use batch analysis to analyze multiple acquisitions at once.
-
In the Images table, select the acquisitions that you want to analyze.
-
Choose the analysis type you want to apply from the Analysis ribbon or the Quick Launch Toolbar.
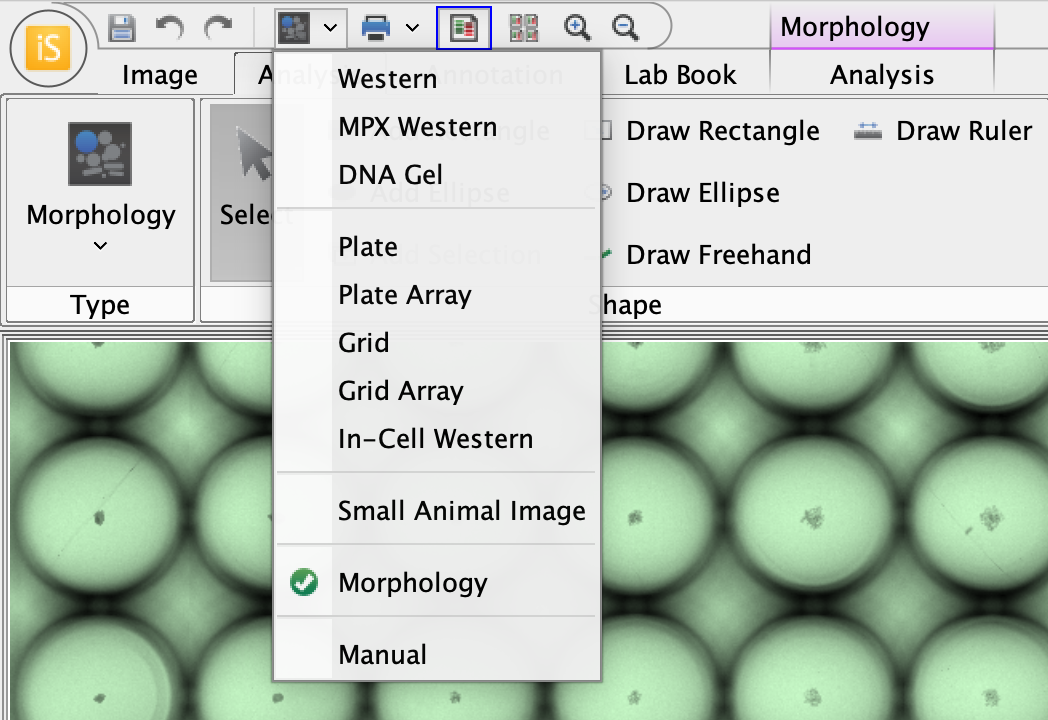
Figure 3. Quick Launch Toolbar -
When the template selection dialog opens, choose the template you want to use.
-
Review the template details to confirm that you selected the correct template for the batch.
-
Click Apply to start the batch analysis.
-
Review the results after processing is complete.
-
Click Save or press CTRL+S to save the completed batch analysis results.
-
If you'd like to export data from more than one acquisition into the same spreadsheet, clear the Display Current filter in the results table for the analysis type you applied (e.g., that would be the Morphology Shapes table for Morphology Analysis).
With Display Current cleared, the table shows data for all acquisitions in the Work Area, and exported data include all displayed rows.
You can still apply a template manually to one acquisition. Batch analysis is most useful when you want to analyze several similar acquisitions without repeating the same setup steps on each one.
To clear analysis that was applied in batch, select the acquisitions and set the analysis type to Manual.
Morphology Templates from Image Studio 6.1 Work Areas
Image Studio 6.2 saves whether Areas of Interest (AOIs) were assigned before or after shape detection, so Morphology templates can preserve the intended AOI behavior (see Morphology Analysis for more information).
When an Image Studio 6.1 Work Area is opened in Image Studio 6.2, existing Morphology analyses do not have a record of whether AOIs were assigned before or after shape detection.
If you would like to create a Morphology template in 6.2 from an existing Image Studio 6.1 Morphology analysis, please complete the following steps. This will allow the template to preserve the order of operations appropriately and take full advantage of Morphology batch processing.
-
Choose a representative acquisition with a representative Morphology analysis from the batch of acquisitions that you need to analyze.
-
Delete all detected shapes from that analysis.
-
Unassign all AOI shapes needed for the analysis.
-
Decide if you want to assign AOI shapes before or after detection. See Morphology Analysis for more information about how the order matters.
-
Perform remaining analysis steps in the order that you want the steps to be applied when the template is applied to other acquisitions.
If the intended workflow includes Refine Shapes, run Refine Shapes after Threshold Detection or Auto Detection.
-
Save the Morphology template.
Saving the template after recreating the analysis preserves your intended order of operations.